
All MacOS users know that Apple maintains a tight hold on what software can get installed – unlike the open PC standard where Microsoft is king. PC users forever have been spoiled by how easy Linux can installed on their systems.
But, many Apple computer owners do have a need – a need for a different kind of speed? How easy is it to install a new Linux Distro on a Mac?
A guide to installing Linux on Apple machine
Installing a Linux operating system (OS) on an Apple laptop (MacBook) can breathe new life into an older machine or provide a more customizable and powerful environment for users who prefer open-source software.
This guide will walk you through the process of installing any Linux OS on an Apple laptop.
1. Check Compatibility
Before you begin, ensure that your MacBook is compatible with the Linux distribution you want to install. Most modern distributions like Ubuntu, Linux Mint, Fedora, and others support a wide range of Apple hardware, but it’s a good idea to check the distribution’s website for any known issues or hardware limitations.
2. Backup Your Data
Installing a new OS will require you to partition your drive, which could result in data loss if not done carefully. Always back-up your important data before proceeding. Use Apple’s built-in Time Machine or any other backup method you prefer.
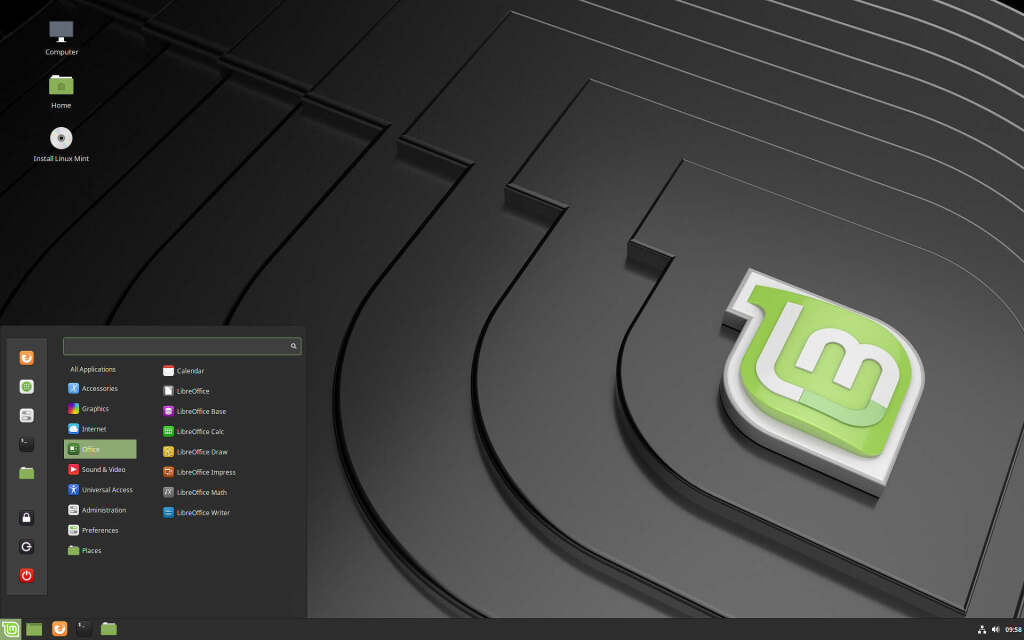
3. Download the Linux Distribution
- Visit the official website of the Linux distribution (For example, Linux Mint) you wish to install.
- Download the ISO image of the distribution. This file contains the entire OS and is what you’ll use to create a bootable USB drive.
4. Create a Bootable USB Drive
You’ll need a USB drive with at least 4GB of space to create a bootable installer.
On macOS:
- Download and Install Etcher: Etcher is a user-friendly tool for creating bootable USB drives.
- Download Etcher from etcher.io.
- Install and open the application.
- Create the Bootable USB:
- Insert your USB drive into your MacBook.
- In Etcher, select the downloaded Linux ISO image.
- Choose the USB drive as the target.
- Click “Flash” to create the bootable USB drive.
5. Disable Secure Boot and Configure Boot Options (If Applicable)
On newer MacBooks with the T2 security chip, you might need to adjust some settings:
- Restart your MacBook and hold down
Command + Rto enter Recovery Mode. - Open Startup Security Utility:
- Go to Utilities > Startup Security Utility.
- Ensure “Secure Boot” is set to “No Security.”
- Allow booting from external media.
6. Boot from the USB Drive
- Insert the Bootable USB Drive: Plug the USB drive into your MacBook.
- Restart Your MacBook: Hold down the
Option (⌥)key immediately after turning it on. - Select the USB Drive: A boot menu will appear. Use the arrow keys to select the USB drive and press
Enter.
7. Install Linux
- Boot into the Linux Installer: Once the system boots from the USB drive, you’ll be taken to the Linux installation menu. Select “Install [Your Linux Distro]” to begin the installation process.
- Partition the Disk:
- During installation, you’ll be asked where to install Linux. If you want to dual-boot with macOS, choose the option to install Linux alongside macOS. This will automatically partition your disk.
- If you want to replace macOS entirely, select the option to erase the disk and install Linux.
- Complete the Installation:
- Follow the on-screen instructions to set your time zone, user account, and other settings.
- The installer will copy the necessary files and install the OS. This process can take some time, so be patient.
8. Reboot and Finalize Installation
- Remove the USB Drive: After installation is complete, the system will prompt you to remove the USB drive and press
Enter. - Restart Your MacBook: The system should now boot into your new Linux OS.
9. Install Necessary Drivers and Updates
After the first boot, you may need to install additional drivers, especially for hardware like Wi-Fi, Bluetooth, and the trackpad.
- Check for Updates: Use the package manager to update your system to the latest versions of software and drivers.
- Install Drivers: Depending on your hardware, you may need to install additional drivers. Check your Linux distribution’s documentation for instructions.
10. Customize and Explore
Now that Linux is installed, take some time to explore the environment. Customize the desktop to your liking, install your preferred software, and start enjoying your new Linux system on your Apple laptop.
Conclusion
Installing Linux on an Apple laptop can seem daunting, but with careful preparation and following the steps outlined above, you can successfully replace or dual-boot your MacBook with a powerful Linux operating system.
Whether you’re looking for more customization, better performance, or just a change from macOS, Linux offers a versatile and robust alternative for your computing needs.